

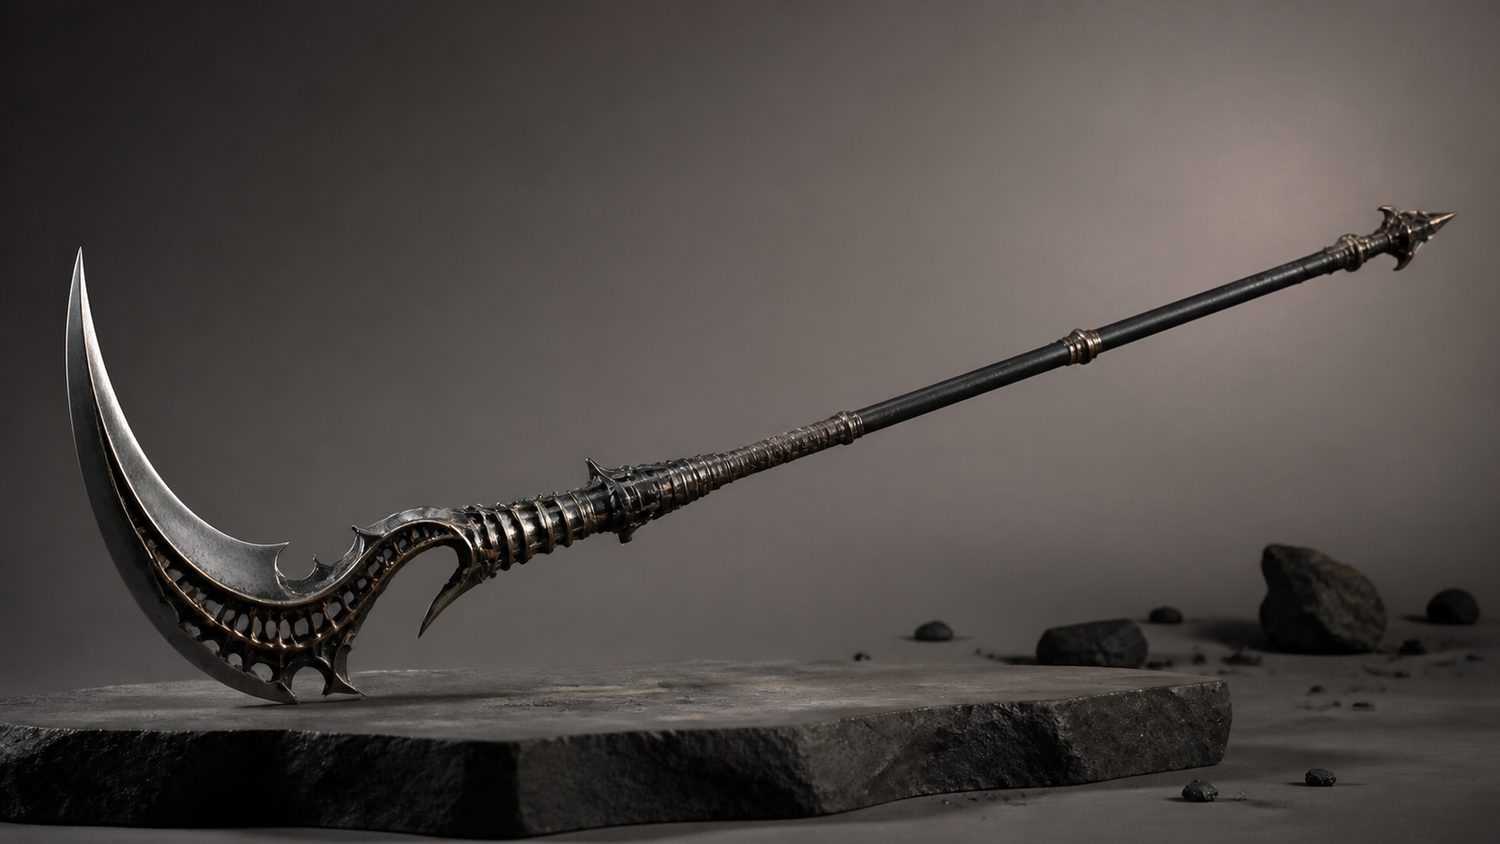
Nekros’s Desecrate does not need one mandatory weapon. It needs enemies that leave usable remains, then enough survivability and resource sustain to keep the ability active while the squad clears a mission. That distinction matters: a weapon that wins a damage-chart contest can still be a poor farming companion if its kills remove bodies too quickly or scatter the room beyond the range where you can work safely.
Start with what Desecrate actually checks
Desecrate attempts to roll additional loot from eligible corpse parts in range. The practical implication is that a kill is only the beginning of the loop. Enemies that are cut into separate pieces can present more than one eligible part, while enemies that disappear immediately cannot be revisited. The official community documentation also notes that Grineer and Corpus bodies normally persist longer than Infested bodies, and that some damage effects shorten that window. A farming loadout should therefore be tested in the mission you actually run, rather than copied from a clip recorded on another faction.
Choose damage behavior before a weapon name
Physical Slash weighting is the familiar starting point because it can dismember enemies. High status capability helps a Slash-focused setup do that consistently. This is a reason to examine a weapon’s damage profile, mods and enemy level together; it is not a promise that every hit will create extra usable pieces. Large explosions and effects that erase or rapidly dissolve bodies can work against a deliberate Desecrate loop. Heat and Blast are especially worth testing carefully in a farming run because fast corpse removal reduces the time available for the ability to process targets.
Range and line of travel are the other half of the choice. A tight Survival corridor rewards a weapon that can clear steadily without sending every target across the tile. In an open Defense room, controllable shots and melee cleanup can keep remains closer to the group. If teammates are using abilities that ragdoll, disintegrate or continually move enemies, do not diagnose the result as a weapon failure until you have tried the same setup alone or with a coordinated squad.
How to evaluate a primary weapon
Use a primary when it can dispatch the target level reliably with a controlled damage pattern. Pellet weapons and rapid Slash-oriented guns are often discussed for Nekros because repeated physical hits can produce dismemberment. The trade-off is ammunition consumption, reload downtime and the risk of overwhelming low-level enemies with effects that do not leave a useful body. Bring a primary to a short test in the exact node you farm, record whether the kills are close enough to process, and compare the pickup flow over several rotations rather than judging one crowded room.
Secondary and melee roles
A secondary can be a utility tool rather than the main killer: it may cover a distant target, apply a status effect, or handle a dangerous unit without changing the behavior of the whole room. Melee is useful when you want direct control over where an enemy falls. It also makes it easier to watch whether your build is producing separate pieces. The Ripkas is frequently mentioned in farming discussions because its Amalgam Ripkas True Steel mod affects gore chance, but it is not a requirement for Desecrate and it does not remove the need for adequate damage, defense and positioning.
Build the frame around uptime
Desecrate costs energy by default; the Despoil augment changes the cost to health. Neither route is universally superior. An energy-based setup needs a dependable source of energy orbs and enough efficiency to avoid interruptions. A Despoil setup needs a way to recover health and must not assume that an enemy drop will arrive before incoming damage does. Equilibrium is commonly paired with orb collection because health and energy pickups can support each other, while companions and loot-vacuum effects reduce the time you spend walking away from the corpses you want to process.
Range is valuable only up to the point that it lets you cover the fight without making your build fragile. Strength is mainly a consideration for the rest of Nekros’s kit and any survival plan built around it; do not sacrifice reliable Desecrate uptime merely to chase a number. Test with the same mission modifier, squad size and enemy faction. Those conditions change resource pressure far more than a single fashionable mod choice.
A practical test routine
- Run a baseline without changing weapons and note pickups, deaths and the time Desecrate stays active.
- Change one damage type or weapon at a time, then observe whether bodies remain long enough to be processed.
- Stand where the squad actually fights; a perfect range value is useless if the action moves away from you.
- Check the result across multiple rotations, because enemy level and spawn density change the outcome.
- Keep the option that produces stable mission clears and stable ability uptime, not simply the highest single-hit damage.
Common mistakes
Do not treat an old loadout post as a permanent rule. Balance updates, weapons, companions and mission modes change. Do not assume every enemy leaves a body, and do not expect Desecrate to repair a setup that cannot survive the content. Finally, do not confuse an occasional large pickup burst with a repeatable farming method. The useful weapon for a Desecrate Nekros is the one whose damage behavior, ammunition needs and range fit your actual mission while leaving you free to keep the ability running.