

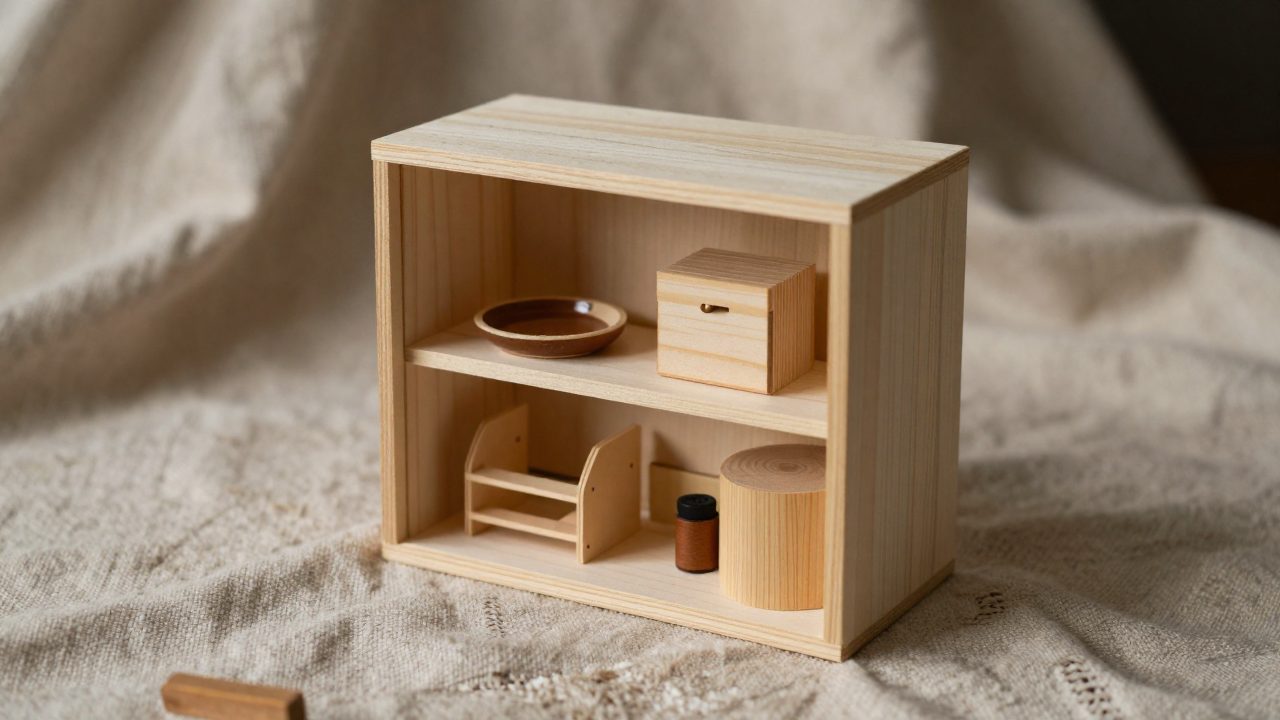
A shadow box works best when it has one clear story. For a best-friend gift, that story may be a trip, a shared hobby, a school year, a concert, a move, or a collection of small ordinary moments. The box is not simply a deep frame full of objects. It is a small exhibit, so the first design decision is what the viewer should notice first and what they should discover second.
Start with an edit, not the glue
Gather more material than will fit: photographs, ticket stubs, a postcard, a note, a map fragment, a small souvenir, fabric, or a printed phrase. Then choose one hero object or image. Everything else should support it. A box crowded with equally important objects becomes visually flat, while one large photograph or object paired with two or three smaller details gives the eye a place to land. Photograph the candidate arrangement from above before attaching anything. A phone photo makes gaps, awkward overlaps, and competing colors much easier to see.
Use a limited palette drawn from the objects themselves. A beach-trip box might use sand, deep blue, and one coral accent; a friendship built around a music event might borrow the poster color and use black or cream for the backing. Repeating one color in the backing, title, and a small detail ties unlike objects together. Keep highly patterned paper behind quieter objects, and use a plain backing behind a busy photograph or map.
Build depth deliberately
Depth is the advantage of a shadow box, but objects should not all float at the same distance. Put the flattest item at the rear, lift a photo or title slightly forward, and reserve the deepest position for one three-dimensional keepsake. That creates a foreground, middle distance, and background even in a shallow frame. Test the door or glazing before committing: a souvenir that looks fine on an open work surface may press against the glass once the box is closed.
For a travel memory, layer a map or route line at the back, a photo in the middle, and one small object such as a shell, transit token, or luggage tag in front. For a school or workplace friendship, make a copied note or timetable the background, add a photograph, then use a small pin, badge, or miniature object as the focal point. For a “reasons we are friends” box, the hero can be a single portrait while short typed strips radiate around it like labels in a museum case.
Typography should label the memory, not overwhelm it
Use a short title: a date range, a place, an in-joke, or a three-to-five-word phrase. Long paragraphs belong on the back of the frame or in an accompanying card. If several captions are needed, make them visually consistent: one font family, one text color, and one margin rule. Align labels to an invisible grid rather than scattering them at random. A small label mounted near an object can explain it without forcing the recipient to guess why it was included.
Print a test on ordinary paper and place it in the box before cutting cardstock. Check spelling, punctuation, and whether the type remains readable through glass at viewing distance. Handwriting is meaningful when it is legible; a scan or photocopy can preserve the look of an original note while allowing the original to stay safely stored.
Choose reversible mounting for irreplaceable material
There is an important difference between a permanent craft display and a keepsake-safe display. For everyday copies, inexpensive paper, and objects with no long-term value, a permanent craft adhesive may be an acceptable design choice. For original photographs, letters, certificates, signed items, or one-of-a-kind paper, avoid applying adhesive directly to the item. The Library of Congress and Smithsonian preservation guidance caution that even materials marketed as acid-free can be unsuitable and that self-stick tape can damage paper and photographs over time.
A safer approach is to display a high-quality copy and store the original separately. If an original must be shown, use photo corners, non-adhesive corner mounts, or a carefully planned support that holds the object without adhesive touching it. A window mat can keep paper from resting against glazing. For fragile or valuable items, a professional framer or conservator can advise on reversible mounting. Do not staple, punch holes, laminate, or use hot glue on a document or photograph you would regret damaging.
Backing, supports, and adhesives
For a purely decorative box, foam board, painted board, fabric-covered board, or patterned paper can make a useful backing. For family photographs and paper keepsakes, select materials that are acid-free and lignin-free, and look for photo-safe materials that state they pass the Photographic Activity Test when they will sit directly against photographs. Avoid unprocessed wood-pulp paper, PVC plastics, and colored papers whose dyes or inks may transfer. “Archival” on its own is not a guarantee of suitability.
Heavy objects need mechanical support rather than a blob of glue. A small object can be secured to a separate support card with a tie, thread, or discreet removable fastener; the support card is then mounted to the box. Test the assembly while the box is upright. If an item shifts under its own weight, redesign the support before hanging the frame. Keep sharp objects, loose glitter, food, dried plants that may shed, and anything that could stain or attract pests out of a sentimental display.
Light and display conditions matter
Photographs, colored inks, and paper fade with light exposure; the damage is cumulative. Keep a shadow box away from direct sun, radiators, damp exterior walls, kitchens, and bathrooms. UV-filtering glazing can reduce part of the light risk, but it does not make permanent bright display harmless. A copy is the best display candidate for a treasured photograph, certificate, or letter. Store originals in a stable, dry location instead of sealing them into a frame for years.
Before closing the box, remove dust from the glazing and inspect the layout at eye level. Confirm that the contents cannot shift. Add the date and a short inventory on the back.
A simple assembly sequence
- Choose one memory and a hero object or photograph.
- Measure the inner depth, not just the outer frame.
- Arrange every item dry and photograph the layout.
- Choose copy versus original, and use reversible mounting for irreplaceable items.
- Build from the background forward, testing the glass clearance at each layer.
- Close the box.
The strongest friendship shadow boxes are edited rather than stuffed. A few well-chosen objects, a readable title, and materials selected with the importance of the keepsakes in mind will outlast a crowded collection of decorations.