

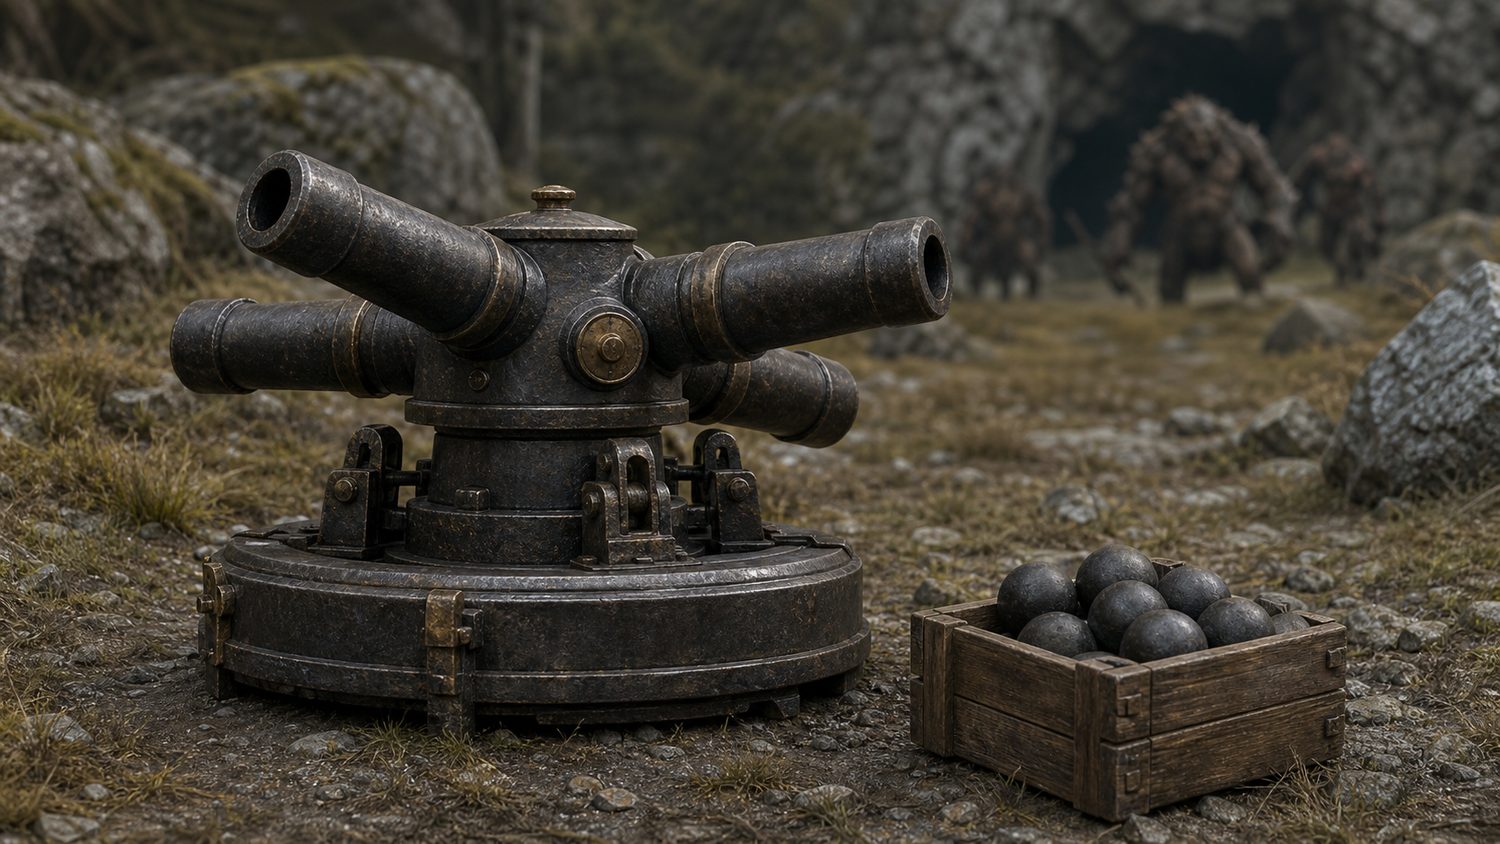
The best semi-AFK cannon spot in Old School RuneScape is one where the Dwarf multicannon can keep finding targets while the player remains safe enough to reload it and watch the screen. The cannon is not fully AFK: it must be loaded, it can break after being left assembled, and a crowded location can change the results. It is better described as low-attention Ranged training or a way to accelerate a Slayer task.
Begin with the requirement that matters most: complete Dwarf Cannon. The quest unlocks the four-part Dwarf multicannon. Once assembled and loaded with cannonballs, it fires at targets in line of sight and range, but it is supplemental damage rather than a replacement for your own weapon. Cannon experience is reduced, so the attraction is the number of targets hit and the convenience of a safe, dense spawn rather than a promise of one universal experience rate.
Best low-risk choice: caged ogres at the Combat Training Camp
The Combat Training Camp is a practical place to learn cannon placement because caged ogres let a player work from safety. The Old School RuneScape Wiki identifies it as a common low-risk cannoning location and notes that it can be busy. That trade-off is important. A placement can be excellent on paper but poor at a peak-time world if another player already occupies the useful tiles.
Use the cannon where it has clear shots into the ogre cage, then verify that it is actually rotating through targets before settling into another task. Bring your usual Ranged gear, food only if the route needs it, and more cannonballs than you expect to use. The spot is attractive for players who value a predictable session over maximum possible damage per hour.
Best early option: Rock Crabs near Rellekka
Rock Crabs are a classic cannon target because they have low attack and inhabit multicombat areas. They are a sensible choice shortly after the quest, particularly for an account that does not yet have a demanding Slayer target. The limitation is that a cannon only earns its keep when crabs are active and positioned where its rotating barrels can see them. If a group has become passive, move far enough away to reset their aggression, then return and confirm the cannon has targets.
Do not confuse Rock Crabs with Sand Crabs or Ammonite Crabs for this purpose. The current community reference notes that cannons do not target Sand Crabs or Ammonite Crabs. A familiar crab-training location is not automatically a cannon location.
Best high-density task option: Lighthouse Dagannoths
Dagannoths beneath the Lighthouse are a well-known option for players able to complete Horror from the Deep, which gives access to the relevant ladder. The draw is density: many targets can keep a cannon productive when the room and world are favorable. The cost is more attention than a caged-ogre setup. Bring supplies appropriate to your combat level and be ready to reload, heal, and leave if the trip stops being efficient.
Do not copy an old experience-per-hour claim as if it were guaranteed. Equipment, Ranged level, combat style, cannonball supply, target positioning, competition, and how actively the player lures monsters all change the result. The useful test is simple: is the cannon firing consistently at several accessible targets while you can maintain the trip safely? If not, another location can be better for that account even if a guide calls the Lighthouse the fastest.
Best Slayer-minded choices: Cave Horrors, giants, and task locations
Cave Horrors can be worthwhile when they are the Slayer assignment and their drops matter to the account. Check the exact area and cannon rules before taking a cannon: not every room with a monster is a legal or useful placement. Moss giants and hill giants can also make sense where a player can safespot and keep targets in the cannon’s lines. For a Slayer task, the best spot is often the one that shortens the assignment without creating more banking, risk, or cannonball expense than it saves.
Multicombat is usually preferred because the cannon can engage several nearby monsters. In a single-combat area, it has much less room to work if the player is already fighting one target. Obstacles matter too. The cannon needs line of sight; a packed room can still underperform when walls, corners, or bad placement block its firing arcs.
How cannon placement actually works
A cannon rotates through set firing regions rather than selecting every monster in a circle. Targets near certain squares around the cannon may be hit more effectively than targets hidden by an obstacle. This is why two players standing only a few tiles apart can see very different results. Set the cannon down, watch a full rotation, and make a small adjustment if enemies are clustering outside its useful arcs. Luring is not busywork for its own sake; it is what turns a legal spot into an efficient one.
Check the cannon regularly. After 25 minutes of continuous assembly it breaks and stops firing until repaired. If it remains broken for another 10 minutes, it disappears, though Nulodion can replace a lost cannon for free. That timer is a good reason to set a reminder and to avoid stepping away for a long period. Reloading and repair are part of the activity.
What to bring and what to avoid
- Cannonballs: take enough for the intended session, but do not turn an experimental trip into a huge sunk cost.
- A normal combat plan: use a suitable Ranged weapon and defensive gear. The cannon supplements your attacks.
- A safe route: account for teleport options, food, prayer needs, and any wilderness risk before placing the cannon.
- A free world when possible: competition changes spawn access and makes advertised spots less reliable.
- Location checks: some areas prevent placement, some bosses destroy cannons, and some monsters cannot be targeted.
Choose a cannon spot by convenience first, density second, and claimed experience rates last. Rock Crabs and caged ogres are forgiving places to learn; Lighthouse Dagannoths reward players who meet the access requirement and can manage a busier trip. A cannon is strongest when its placement, target movement, and your own supplies all fit the same task.