

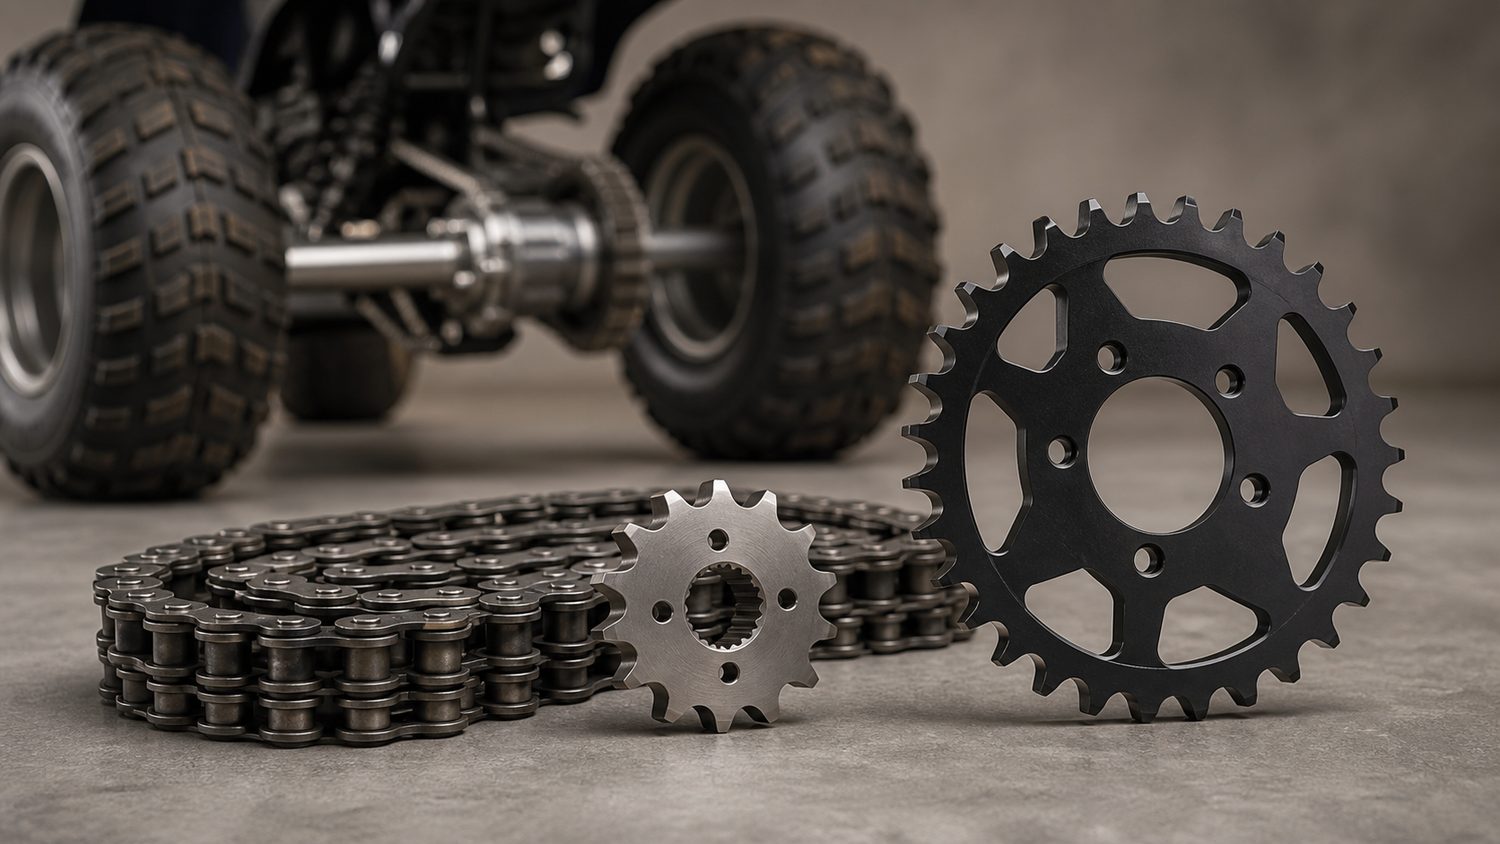
The Honda TRX450R was sold as a kick-start sport ATV for 2004-2005 and as an electric-start version for 2006-2014. That distinction matters when reading parts listings and forum advice: engine, chassis, sprocket carrier, chain guide and swingarm details can vary by year and aftermarket setup. This is an informational gearing guide, not a product list. It provides no affiliate links and does not prescribe one ratio for every rider or course.
What sprocket changes actually do
Final-drive gearing is the rear-sprocket tooth count divided by the front-sprocket tooth count. A numerically larger final ratio gives the engine more mechanical advantage at the rear wheels: it generally favors acceleration at a given engine speed, while reducing theoretical speed for that engine speed. A numerically smaller ratio does the opposite. It does not create power, repair a worn clutch or override terrain, tire diameter, rider weight, engine condition and traction.
A one-tooth change at the countershaft can be a substantial percentage change because the front sprocket is small. Rear changes are usually finer steps. Compare ratios rather than repeating a popular tooth count: divide rear by front, then compare the percentage difference from the installed ratio. That makes a change understandable without assuming every TRX450R has the same tires, transmission condition or riding environment.
Chain pitch, fitment and measurement
TRX450R drive systems are commonly discussed with 520-pitch chain setups, but confirm the exact motorcycle/ATV parts manual, installed components and year before buying or fitting anything. Chain pitch identifies the spacing family; it does not prove a chain length, sprocket offset or carrier fit. Count the installed chain links, inspect the master link arrangement and check that the rear sprocket, carrier, hub and front-sprocket spline are the correct components for the machine. A listing that says TRX450R without a year or pitch deserves extra scrutiny.
Chain length depends on sprocket sizes, swingarm position and suspension geometry. A ratio change can require a different length or a different axle position. Do not run an axle at the extreme end of its adjustment simply to make an existing chain fit. A chain that is too tight can overload bearings and suspension movement; one that is too loose can derail, strike guides or damage the case. Set slack only by the factory procedure for the exact model, because suspension travel changes the distance between shafts.
Choosing for terrain without a universal answer
Tight, low-speed terrain and short-corner riding often reward controllable response, but traction and rider technique matter as much as the ratio. Open sand, long straights and high-speed riding may make a shorter ratio feel busy and can place the engine at higher rpm. Large-diameter tires effectively make gearing taller; smaller tires effectively make it shorter. Before changing parts, write down the current ratio, tire size, terrain, riding complaint and any engine modifications. A single measured change is easier to evaluate than replacing several variables at once.
Wear, alignment and installation safety
Replace worn chain and sprockets as a set when inspection shows hooked teeth, tight spots, seized links, damaged rollers or excessive adjustment. New sprockets cannot correct a stretched or kinked chain. Clean the area before inspection so cracks, oil leaks and damaged guides are visible. Check alignment with the factory marks and a direct visual or measuring method rather than trusting one side alone. Torque fasteners to the Honda service information for the exact year, use required retention hardware and ensure nothing contacts the chain through suspension travel.
Support the ATV securely, keep it off public roads unless local law permits its use, and do not perform adjustment with the engine running. After service, rotate the rear wheel by hand, recheck fasteners and inspect chain tracking before a gentle test in a controlled area. A qualified ATV technician is the right resource when parts do not match documentation, there is case damage, the chain derails, or the rider is unsure about safe adjustment.
Record the baseline
Before changing final drive, record the front and rear tooth counts, tire size, chain condition and axle location. Photograph the routing and guide positions. This baseline helps identify whether a later noise, vibration or poor tracking came from the ratio change, an installation issue or an existing worn part. It also prevents a common mistake: comparing a proposed ratio with an assumed stock setup rather than the gearing actually installed on the ATV.
Gearing decisions have safety consequences. A change that makes throttle response feel sharper can also make traction loss easier on loose ground. Practice gradually in an appropriate riding area, wear required protective equipment and stop if the chain, guide or sprockets make unusual noise. The best ratio is the one that suits the documented machine, terrain and rider while leaving the drivetrain correctly adjusted and maintained.