

Start with the controls the phone actually has
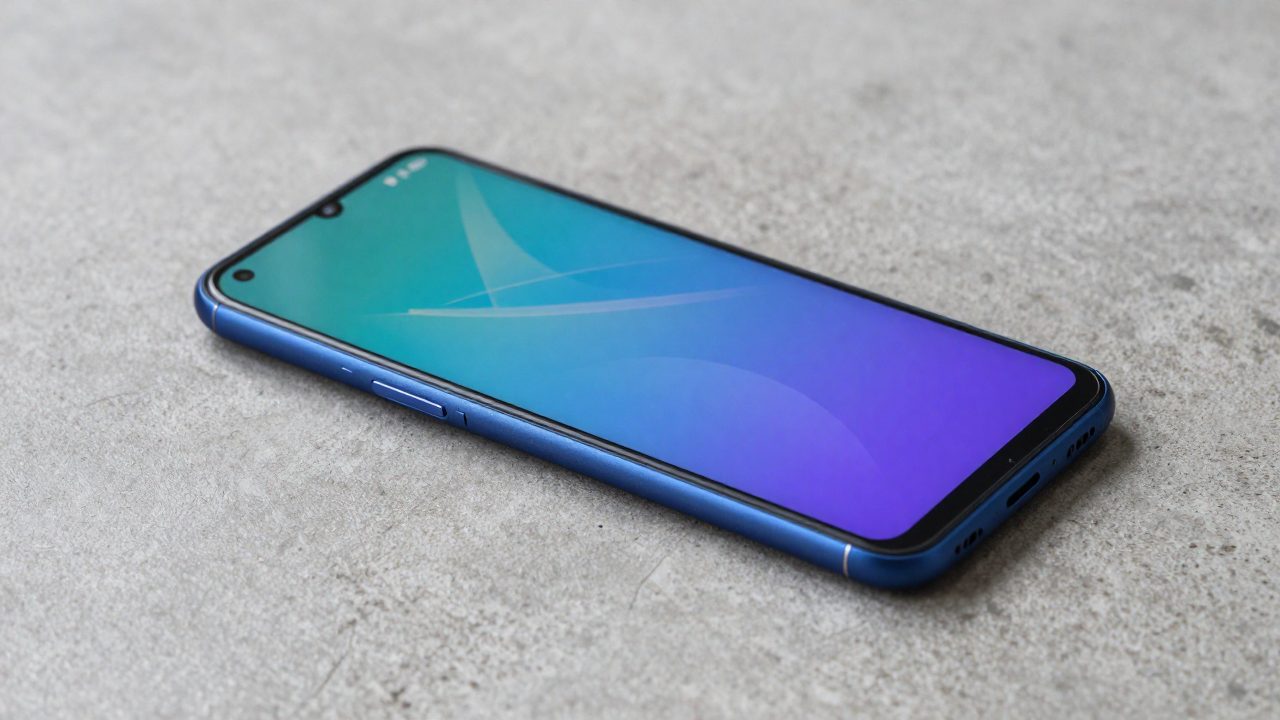
The OnePlus 6T has no ordinary user-accessible hardware calibration profile and does not need a separate calibration product. On OxygenOS versions that support it, open Settings, Display and Screen calibration. Menu names can vary after updates, but the relevant choices are Vivid, Natural and Advanced settings, plus a colour-temperature control on supported versions. Record the current mode before changing it. A screenshot will not show the panel’s true colour, but it preserves the setting and makes an experiment reversible.
Calibration is not a contest for the brightest or most saturated screen. It is a repeatable choice that makes ordinary photos, web pages, video and reading look suitable in the lighting where the phone is used. The 6T uses an AMOLED panel, so brightness, ambient light, automatic brightness, temperature and displayed content can all affect what the eye sees. Clean the screen, remove tinted overlays, let the phone reach normal temperature and assess it in steady indoor light. Do not make a final judgement immediately after direct sun, a hot car or a dark bedroom.
Choose a sensible colour-mode baseline
Natural is the practical baseline for web pages, documents and most ordinary photographs. It is an sRGB-style choice and usually avoids the extra saturation that a wide-gamut panel can apply to standard content. Vivid is a preference mode for people who enjoy stronger-looking colour. It can make icons and games look intense, but intensity is not evidence that a photo is accurate. If an image was created for sRGB, a very wide-looking mode may make familiar reds, greens and skin tones appear more saturated than intended.
Advanced settings commonly separate AMOLED Wide Gamut, sRGB and Display P3. AMOLED Wide Gamut permits a broader, more vivid appearance. sRGB is the useful setting when consistency for normal photos and web graphics is the priority. Display P3 can be appropriate for P3-aware content and apps, but it is not a universal upgrade. A phone cannot invent lost highlight, shadow or colour information merely by selecting a wider colour space. Choose the mode for the material being viewed, then leave it stable long enough for your eyes to adapt before deciding it is wrong.
Adjust white balance one small step at a time
The temperature slider controls whether white appears cooler/bluer or warmer/yellower. It cannot repair a failed panel or make one 6T a laboratory reference monitor. Begin at the middle position. Open a neutral white page and a grayscale ramp, then move only one small step if the white has a persistent blue, pink, green or orange cast in normal room light. Rest your eyes briefly between comparisons: visual adaptation can make a warm screen look neutral after a few minutes, and a neutral screen can look cold when switching from a warmer device.
Do not choose the setting by comparing with an uncalibrated laptop, a shop television or another phone in its own Vivid mode. Use neutral material on the 6T. A useful result shows a neutral-looking white and discernible near-black and near-white steps. At very low brightness, AMOLED dimming limits can change how the panel behaves. If the first dark steps merge into black, raise brightness modestly before blaming colour calibration. If bright cloud detail disappears into white, reduce brightness only enough to restore separation.
Test images are inspection tools, not hardware calibration
Use a grayscale ramp, colour patches, skin-tone photographs and a familiar picture with both dark and bright detail. Obtain test material from a reputable display-testing source or a known original image, not from a heavily filtered social-media feed. View it in more than one app if a result seems odd. A camera image, a streamed film, a game and a social-media image can use different colour spaces and rendering paths. A single app may also have its own dark mode, video enhancement or filter settings.
Keep accessibility and comfort features separate
Accessibility colour correction, colour inversion and extra-dim features can be essential for some users, but they are not general photo-calibration tools. Check them before diagnosing an apparent colour cast; do not disable a feature a user needs merely to achieve someone else’s idea of neutral. Reading Mode and Night Mode, where present in the installed version, deliberately warm or alter the display for evening comfort. Disable temporary comfort filters while establishing a daytime baseline, then use a schedule if they help at night. A screen can be set sensibly for photos during the day and intentionally warmer at night.
Burn-in and replacement screens need a different response
AMOLED panels can retain or permanently age unevenly after repeated static high-contrast images. Screen calibration cannot reverse worn OLED material. Inspect a uniform gray or low-saturation image rather than a white screen alone; persistent status-bar, keyboard or navigation shapes seen across apps can indicate panel wear. Avoid leaving static content at high brightness for long periods. Do not rely on colour-cycling ‘burn-in repair’ apps: they cannot restore aged OLED material and add display time.
A sudden tint, flicker, crack, black area, touch fault or appearance that changes when the phone moves is a repair issue. Replacement screens may differ in brightness, colour, touch response and fingerprint-sensor behaviour from the original part. A panel that fits is not proof that it is equivalent. Ask a repairer to identify the part type and warranty, keep the work record, and test touch, brightness, sensors and display modes before accepting the repair.
A repeatable routine
Update through the normal system updater, restart, choose Natural or Advanced sRGB, centre the temperature slider and disable temporary comfort filters. At moderate brightness, inspect neutral material and make at most one small slider change. Compare in normal daylight and indoor lighting, then live with it for a day. If stronger colour is preferred for entertainment, select Vivid or AMOLED Wide Gamut knowingly as a preference rather than calling it universal accuracy. Record the selected mode, slider position and night-filter schedule. That record lets you undo an experiment and gives a repairer useful context if the issue turns out to be hardware.