

As an Amazon Associate and eBay Partner, toptenpick.com earns from qualifying purchases. Prices and availability are subject to change.
Most people looking for a crawl space heater are trying to solve one of two problems: pipes that freeze, or a cold floor above. It is worth saying plainly that a heater is usually the most expensive and least durable way to solve either.
A crawl space is cold because it is ventilated to the outside and poorly insulated. Putting a heater into it means paying, continuously and all winter, to warm a space that is actively exchanging air with the outdoors. Air sealing and insulation solve the same problem once. Insulating the pipes themselves, sealing the vents and rim joists, and in many climates encapsulating the crawl space with a vapour barrier and insulating the walls rather than the floor above, removes the reason the heater was needed. The heater treats the symptom at a recurring cost; the insulation treats the cause at a one-off one.
There is a second reason to be cautious, and it is about the space rather than the economics. A crawl space is a poor place for a heater. It is a confined, often damp, frequently dusty area with limited air movement, and it is not somewhere you are going to look at every day. Combustible material — insulation facing, stored boxes, a joist — near a heating element in a place nobody inspects is a genuine fire risk, which is why any heater used there must be one rated for it and installed with proper clearances.
Where a heater genuinely does belong is as a targeted, thermostatically controlled backstop: something that runs only when the temperature approaches freezing, sized for the space, and used alongside insulation rather than instead of it.
And one thing to check before any of this. If the crawl space is damp, fix that first. Heating a damp space drives moisture into the structure above and accelerates rot. Standing water, a musty smell or condensation on the underside of the floor are all signs that drainage and a vapour barrier come before any heating decision.
Ten picks below, heaters and the fixes that often replace them.
| # | Product | Price | Where to buy |
|---|---|---|---|
| 1 | Thermostatically Controlled Utility Heater | $70-$250 | Amazon · eBay |
| 2 | Self-Regulating Pipe Heating Cable | $40-$150 | Amazon · eBay |
| 3 | Pipe Insulation Sleeves | $20-$60 | Amazon · eBay |
| 4 | Crawl Space Vent Covers | $25-$80 | Amazon · eBay |
| 5 | Vapour Barrier Sheeting | $60-$250 | Amazon |
| 6 | Rigid Foam Board Insulation | $150-$600 | Amazon |
| 7 | Spray Foam for Rim Joists and Gaps | $30-$100 | Amazon |
| 8 | Crawl Space Dehumidifier | $700-$2,000 | Amazon · eBay |
| 9 | Remote Temperature and Humidity Monitor | $30-$100 | Amazon |
| 10 | Ground Fault Circuit Interrupter (GFCI) Outlet or Adapter | $20-$60 | Amazon |
The picks, in detail

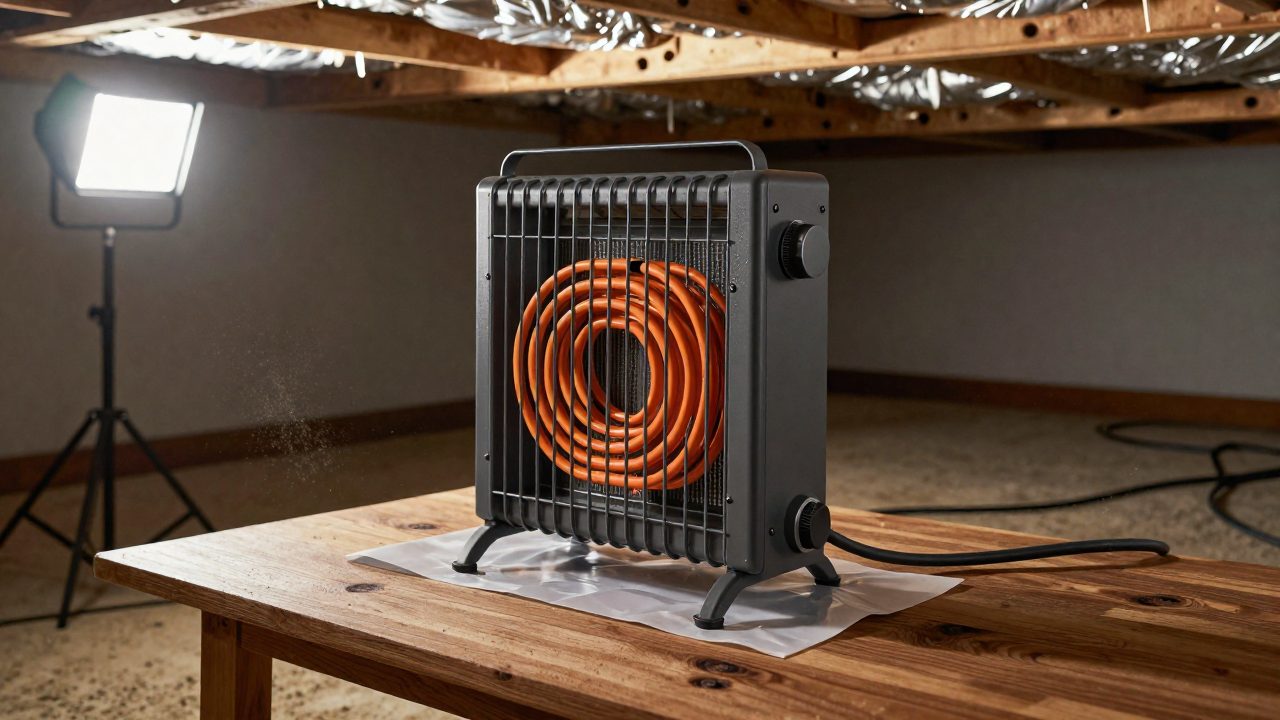
Thermostatically Controlled Utility Heater
The heater to use if you use one: a rugged electric utility or garage heater with a built-in thermostat, set just above freezing so it runs only when it needs to. That thermostat is the whole point — a heater running continuously all winter in a vented space is an enormous running cost, while one that cycles on near freezing is cheap insurance. Look for a metal housing, a tip-over cut-out, overheat protection and a stated clearance requirement you can actually meet.
- Built-in adjustable thermostat
- Metal housing rated for utility spaces
- Tip-over and overheat cut-outs
- Stated minimum clearances
- Runs only when the temperature drops near freezing
- Rugged enough for a dirty, damp environment
- Safety cut-outs matter in an unwatched space
- Still an ongoing running cost
- Needs a dedicated circuit and proper clearances

Self-Regulating Pipe Heating Cable
The targeted answer when frozen pipes are the actual concern, and far cheaper to run than heating the air around them. Self-regulating cable is wrapped along the pipe and varies its own output with temperature — more heat where it is cold, almost none where it is not — so it cannot overheat a section and it uses only the energy required. Covered with pipe insulation over the top, it protects the pipe directly rather than the whole crawl space. This is the right tool for the common problem.
- Self-regulating output along its length
- Wrapped or run along the pipe
- Used under pipe insulation
- Cut-to-length or pre-terminated versions
- Heats the pipe rather than the entire space
- Cannot overheat — output falls as the pipe warms
- A fraction of the running cost of a space heater
- Must be installed to the manufacturer’s instructions exactly
- Cut-to-length versions need proper end seals fitted

Pipe Insulation Sleeves
The first thing to fit and the cheapest by a wide margin. Foam or rubber sleeves slit down one side slide over a pipe in seconds and dramatically slow how fast it loses heat — which for a pipe carrying water that moves periodically is often enough on its own. The details that matter: get the right internal diameter, seal the slit with the adhesive strip or tape, and do not leave gaps at elbows and valves, because an uninsulated elbow freezes and the whole run is blocked anyway.
- Slit foam or rubber sleeves
- Sized by pipe diameter
- Self-adhesive closure
- Pre-formed elbows and tee pieces available
- Cheapest and fastest freeze protection there is
- Often sufficient on its own for a moderately cold space
- Installs in seconds per length
- Gaps at elbows and valves defeat the whole run
- Slows heat loss rather than adding heat

Crawl Space Vent Covers
Foundation vents exist to move air, and in winter they are a direct route for freezing air to reach your pipes. Insulated covers fitted for the cold months cut that off — which is often the single largest improvement available for a modest cost. The important qualification is moisture: sealing vents on a crawl space with a wet floor and no vapour barrier traps humidity and makes rot worse. Cover them only when the ground is properly sealed underneath.
- Insulated foam or rigid covers
- Magnetic or screw-fixed
- Sized to standard foundation vents
- Removable seasonally
- Cuts off the main route for freezing air
- Very cheap for the improvement
- Reversible seasonally
- Traps moisture if the ground is not properly sealed
- Some building codes have requirements about vents
Vapour Barrier Sheeting
The item that should come before any heater, because heating a damp crawl space drives moisture upwards into the structure. Heavy polyethylene sheeting laid over the bare earth and lapped up the walls stops ground moisture evaporating into the space, which is where the great majority of crawl space humidity comes from. Overlap the seams generously and tape them. A thicker reinforced sheet survives being crawled on, which a thin one does not.
- Reinforced polyethylene, 6 mil or heavier
- Laid over bare earth, lapped up walls
- Seam tape for overlaps
- Rolls sized for typical crawl spaces
- Removes the main source of crawl space humidity
- Prerequisite before sealing vents or adding heat
- Also makes the space bearable to work in
- Thin sheeting tears when crawled on
- Seams must be lapped and taped properly
Rigid Foam Board Insulation
For insulating the crawl space walls, which in many climates is the better strategy than insulating the floor above — it brings the crawl space inside the building’s thermal envelope, so pipes and ducts in it are protected without heating. Rigid foam board cut to fit against the foundation walls and sealed at the edges does this. Check local code requirements, since foam typically needs a thermal barrier over it, and the correct approach genuinely varies by climate. Worth a conversation with a building professional.
- Rigid XPS or polyiso board
- Cut to fit foundation walls
- Sealed at edges and seams
- Requires a code-compliant thermal barrier
- Brings the crawl space inside the thermal envelope
- Protects pipes and ducts without running a heater
- One-off cost rather than ongoing
- Code requires a thermal barrier over foam in most places
- The right approach varies by climate — get advice
Spray Foam for Rim Joists and Gaps
The targeted air sealing that produces a disproportionate result. The rim joist — where the floor structure meets the foundation — is usually a long line of small gaps, and along with plumbing and cable penetrations it accounts for a great deal of the cold air entering a crawl space. Canned foam seals it quickly and cheaply. Do this before anything else: air sealing consistently returns more per dollar than adding insulation, because insulation does very little against moving air.
- Expanding foam in cans with applicator guns
- Fire-block rated foam for penetrations
- Seals rim joists, pipe and cable gaps
- Cures in hours
- Air sealing returns more per dollar than insulation
- Fast and cheap for the effect
- Reaches gaps insulation cannot address
- Use fire-block rated foam around penetrations
- Messy and impossible to remove once cured

Crawl Space Dehumidifier
The device that is genuinely worth running continuously, unlike a heater. A crawl space held below about sixty per cent relative humidity does not grow mould and does not rot, and in a sealed crawl space a dehumidifier is what maintains that. Units built for crawl spaces have low-temperature operation and a condensate pump so they can drain upwards to a suitable point. In an encapsulated space this is the one piece of running equipment that earns its electricity.
- Low-temperature operation
- Built-in condensate pump
- Humidistat control
- Sized by crawl space volume
- Controls the actual damaging factor, which is moisture
- Condensate pump drains upward to a suitable point
- Prevents rot and mould in a sealed space
- Continuous running cost
- Only appropriate in a sealed, vapour-barriered space
Remote Temperature and Humidity Monitor
Essential if you are going to put equipment in a space you never look at. A wireless sensor reporting temperature and humidity to your phone tells you whether the heater is needed, whether it is working, and — more importantly — whether humidity is rising in a way that means rot. Set alarms for low temperature and high humidity. Knowing the crawl space hit 2 °C at four in the morning is the information that lets you act before a pipe bursts rather than after.
- Wireless temperature and humidity sensor
- Phone app with history and alarms
- Long battery life
- Range sufficient to reach through a floor
- Tells you whether anything you installed is working
- Alarms let you act before a pipe bursts
- Humidity trend warns of rot conditions
- Wireless range through a floor varies
- Batteries need changing in an awkward location
Ground Fault Circuit Interrupter (GFCI) Outlet or Adapter
Non-negotiable for any powered equipment in a damp crawl space. A GFCI cuts power within milliseconds if current starts flowing where it should not — through moisture, through damaged insulation, through you — and a crawl space is exactly the wet, confined environment where that matters most. Use a GFCI-protected circuit or an inline GFCI adapter, never a plain extension lead. Anything permanent should be installed by an electrician on a properly rated dedicated circuit.
- Detects ground faults in milliseconds
- Outlet, breaker and inline adapter versions
- Test and reset buttons
- Weather-resistant versions available
- The correct protection for a damp environment
- Inline adapters work with existing outlets
- Cheap relative to the risk
- Must be tested periodically with the test button
- Permanent installations need an electrician
Buying tips
- Fix the moisture before you add any heat. Heating a damp crawl space drives moisture up into the structure and accelerates rot. Standing water, a musty smell or condensation under the floor all mean drainage and a vapour barrier come first. A heater in a wet crawl space makes the more expensive problem worse.
- Air sealing returns more than heating, every time. Foam at the rim joist and around pipe and cable penetrations, plus covers on the foundation vents, cut off the cold air at source for a one-off cost. A heater pays to warm a space that is actively exchanging air with the outdoors, every hour of every winter.
- If frozen pipes are the concern, heat the pipes. Self-regulating heating cable under pipe insulation protects the pipe directly for a fraction of the energy of warming the whole space. It varies its own output with temperature so it cannot overheat, and it is the targeted answer to the specific problem most people have.
- Insulate the elbows and valves too. A perfectly insulated pipe run with a bare elbow freezes at the elbow, and the blockage stops the whole run just as effectively. Pre-formed elbow and tee pieces exist for exactly this, and skipping them is the most common way a pipe insulation job fails.
- Any heater must have a thermostat. Set just above freezing, it runs only when needed, and the difference between that and continuous operation is the difference between cheap insurance and an enormous winter bill. A heater without one in a crawl space is burning money for most of the season.
- Respect the clearances, in a space nobody inspects. A heating element near joists, insulation facing or stored boxes, in a confined dusty area you look at twice a year, is a genuine fire risk. Use a heater rated for the environment, install it at the stated clearances, and keep the area around it clear permanently.
- Use GFCI protection for anything powered down there. A crawl space is damp and confined, which is exactly where a ground fault becomes dangerous. A GFCI outlet, breaker or inline adapter cuts power in milliseconds. Never run a plain extension lead to equipment in a wet space, and have anything permanent installed by an electrician.
- Put a wireless sensor down there. You are installing equipment in a space you will not visit for months, so you need a way to know whether it is working. Temperature and humidity reported to your phone, with alarms set, is what turns a burst pipe at four in the morning into a notification instead of a ceiling coming down.
As an Amazon Associate and eBay Partner, toptenpick.com earns from qualifying purchases. Prices and availability are subject to change.