

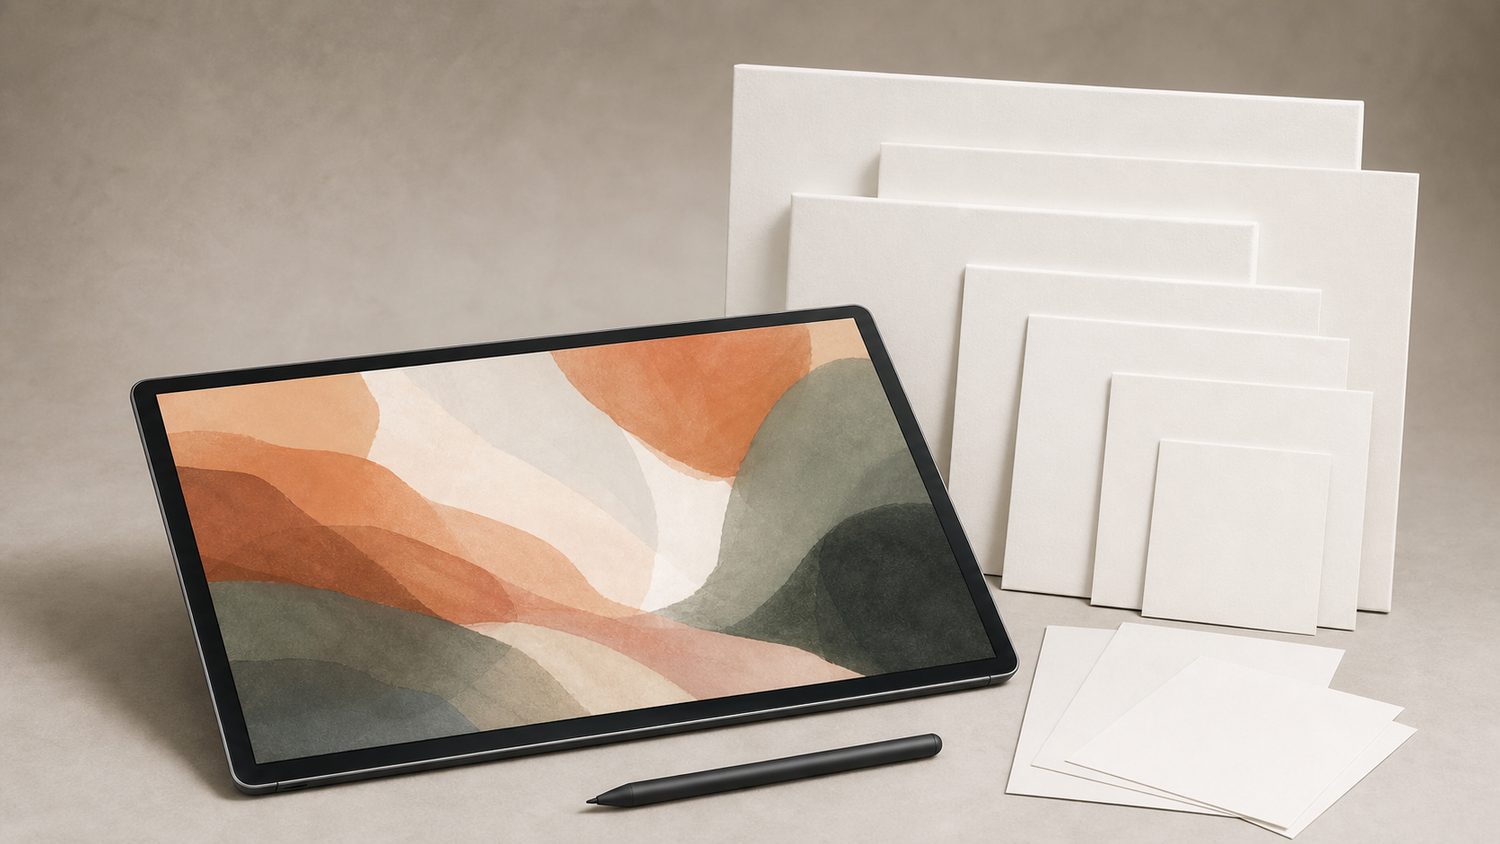
The best Procreate canvas size starts with the finished use, not a universal preset. A digital illustration for Instagram needs enough pixels to look clean after cropping, while a print needs enough pixels at its final physical dimensions. Procreate lets a custom canvas use pixels, inches, centimetres, or millimetres, and it combines physical dimensions with DPI to calculate the pixel dimensions. That is why the same 8 × 10-inch artwork can be a modest file for screen sharing or a much heavier document for print.
A practical default for flexible square artwork is 3,000 × 3,000 pixels. It gives enough room for a detailed social post, a portfolio image, or a small print while avoiding the severe layer limits that can come with huge canvases. It is a starting point, not a magic number: choose a portrait or landscape ratio when the final composition demands one.
Choose pixels first for screen-only work
For artwork that will only be viewed on phones, tablets, websites, or social platforms, pixel dimensions matter more than a high DPI setting. Procreate’s own handbook describes 72–144 DPI as the usual screen range. A canvas at 2,048 × 2,048 pixels is comfortable for sketches, icons, and many square posts; 3,000 × 3,000 pixels leaves more crop room and supports a sharper export. For portrait posts, 2,000 × 2,500 or 2,160 × 2,700 pixels provides a useful vertical working area without making every brushstroke needlessly expensive in layers.
Start with the aspect ratio of the destination. A square canvas is convenient for a feed post, but it may force awkward cropping if the planned piece is a character portrait or a wide landscape. A 4:5 portrait canvas is often easier to compose for a tall image; a 16:9 canvas suits banners and video thumbnails. Work larger than the delivered image when you expect to crop, but do not create a giant canvas merely because the finished export will be compressed online.
Use physical dimensions and 300 DPI for print
For a print, set the physical size first and then set the resolution. Procreate says 300 DPI is the standard value for printing and advises a minimum of 300 DPI when an artwork is intended for print. At that setting, an 8 × 10-inch print needs 2,400 × 3,000 pixels. US Letter at 8.5 × 11 inches needs 2,550 × 3,300 pixels. A 12 × 12-inch print needs 3,600 × 3,600 pixels. These numbers are simply inches multiplied by 300, so they are easy to check before beginning.
That target is appropriate for close-viewed art prints, stationery, stickers, and similar work. Large wall pieces can have different production requirements because viewers stand farther away, and a printer may specify another resolution or file format. Ask the print provider for its required size, colour profile, bleed, and delivery format before investing days in a final illustration. Procreate notes that CMYK is the better colour profile for print and RGB is the better choice for screen viewing; the printer’s instructions should decide when they differ.
Understand what DPI changes and what it does not
DPI is a print-density measurement: it describes how many pixels are allocated to each printed inch. It does not create detail by itself. Procreate explains that changing DPI changes the physical size shown in inches, centimetres, or millimetres, but does not change the existing pixel dimensions. A 3,000-pixel-wide canvas can print ten inches wide at 300 DPI or about twenty inches wide at 150 DPI. The pixels have not multiplied; only the planned density has changed.
That distinction prevents a common mistake. Raising the DPI on a finished 1,500-pixel-wide drawing does not turn it into a 3,000-pixel-wide drawing. To add or remove pixel data, use Resize with Resample enabled. Enlarging can be useful for a modest adjustment, but it cannot restore fine detail that was never drawn. If a print size is non-negotiable, build the canvas at the required pixel dimensions before rendering texture, linework, or lettering.
Layers are the real trade-off
Every Procreate canvas has a maximum layer count, and it changes with the canvas size and the iPad model. Procreate’s support material identifies the two main factors as available iPad RAM and pixel dimensions. A larger canvas requires more memory for each layer, leaving fewer layers available. The app shows the layer allowance when a custom canvas is created or resized, so check it before committing to a preset.
Do not rely on a layer count quoted for someone else’s iPad. Two artists can create the same dimensions and see different limits because their hardware differs. Plan the layer budget around the process: character art may need separate sketch, line, flat-colour, shadow, highlight, texture, and adjustment layers; a simple painting may be happy with far fewer. If the maximum is tight, simplify the layer plan, group and merge completed elements only after saving a versioned copy, or make separate canvases for isolated assets.
Useful starting presets
- Sketches and casual digital work: 2,048 × 2,048 pixels in RGB. This is a sensible lightweight square workspace.
- Flexible digital illustration: 3,000 × 3,000 pixels in RGB. It offers extra crop room and can support modest print uses.
- 8 × 10-inch art print: 2,400 × 3,000 pixels at 300 DPI. Use the printer’s requested profile if one is supplied.
- US Letter print: 2,550 × 3,300 pixels at 300 DPI, before any printer-specified bleed.
- 12 × 12-inch square print: 3,600 × 3,600 pixels at 300 DPI. Check the available layers on the intended iPad.
- Wide presentation image: 3,840 × 2,160 pixels for a 16:9 4K layout, useful when the final destination needs that ratio.
How to create a custom canvas
From the Gallery, tap the plus button and then the custom-canvas control. Enter width, height, and DPI, choose pixels when the deliverable is screen-based or choose physical units when the deliverable has a fixed printed size. Name the preset clearly, such as “8×10 print 300 DPI” or “square digital 3000px,” so it remains understandable months later. Set the colour profile deliberately, then inspect the stated maximum layers before tapping Create.
Existing artwork can be checked from Actions, then Canvas, then Canvas Information and Dimensions. Crop and Resize lets you change the canvas settings later. If a composition needs more breathing room without enlarging the painted pixels, expand the canvas boundary. If the pixels themselves need to scale, enable Resample and keep the aspect ratio locked unless a deliberate reshape is required. Save a duplicate before major resizing so the original working file remains available.
What to know before committing
Start by writing down the final output: screen-only, print-only, or both. For screen-only work, choose the ratio and pixel count needed by the destination, then protect your layer budget. For print, multiply the physical dimensions by the printer’s required DPI and use the resulting pixel dimensions. If a project may become a print later, it is usually safer to begin at print-ready pixel dimensions, provided the iPad still leaves enough layers for the intended workflow.
The best canvas is therefore the smallest one that safely meets the final use. It preserves layers, keeps files easier to manage, and removes the false security of a huge document with no extra useful detail. Check the dimensions, colour profile, and layer allowance at the beginning, and the canvas will support the artwork instead of becoming a limitation halfway through.